

Ever since I've started blogging, I've been going from wearing absolutely no nail polish, to wearing perhaps once every month, then once every two weeks… and now, I'm switching it up whenever I need something to uplift my mood. When I started wearing nail polishes regularly, I realized how damaged my nails were getting. I used to have no cuticles, so much so that every time a manicurist looked at my nails, they always commented on how clean my nails were. I also had no ridge problems, and my nails in total were quite healthy.
Now? After so much nail polish wearing, so many things have changed for the worse! I have slight ridges on my thumbnails, and my nail tips sometimes turn a bit yellow (ew) and I have dry cuticles all along my nails and my nails have become so brittle!
But to stop wearing nail polish, my hands feel so empty now! So, to compensate for how unhealthy my nails have become, I have come up with a routine that helps my nails at least maintain some decency!
What I use: Fundamentally, I think for a good at-home manicure you'll need…
- Nail polish remover (if you had nail polish on before the manicure). Currently love Bourjois 1second Nail polish remover
- Nail clipper
- Nail filer
- Water to dip nails
- Base coat
- Top coat
- Optional: cuticle oil (I personally just skip this step)
So here is the order in which I do a mani:
- Clip nails. Make sure you don't cut it too short so that you can actually shape it. Whenever you use cheap nail clippers, what you'll get is rough edges after clipping your nails. That's when the filer comes in so don't worry too much about that!
- Nail Filer. Filing nails is paramount! Most filers will come with double sides, one that is rougher and the other side, finer. After getting your nails to the length you want with the rougher side, you can go ahead and file with the finer side so that you get smooth edges.
- Water-dipping. What I love to do is get a little cup of water and dip my nails into the water as I file my nails. This way, it makes filing so much easier. Also, when I have a nail polish on for so long, your nails my have acquired this extra layer. After dipping my nails into the water, I would then go ahead and file a little bit of the extra top layer. Just slightly, and it helps the ridges to stay at bay! (Although for really horrible ridges, it may not fully do the trick!)
- After you've prepped and primed your nails, shaping them and making the edges smooth, you can dry your fingers. Make sure none of the filed dust is on your nails! This way, it'll help your nail polish go on smoothly without any bumps.
- Base coat. Base coat is CRUCIAL! It helps especially vibrant colors from seeping into your nails and changing your nail color. Dark colors are especially prone to changing your nail color, and oh you don't want that. A good base coat will help you keep your nails healthy for sure. I use the Butter London Nail Foundation that I feel is so easy to apply and use.
- Nail polish. Most nail polishes will require two coats for that immaculate look! I do a not-so-tidy first coat of my nail polish. You really don't want to apply a thick layer. Do it as thin as you can, and DON'T worry about it looking messy. That's where the second coat comes in. With the second coat, you don't want to make this THICK EITHER. You want to just apply a decent amount over the first coat. It'll perfect your first coat! Also, practice makes perfect. There's no secret to applying them perfectly but for practice!
- Top coat. For the long-lasting wear and shine, you might want to end it with a top coat. I use the Seche Vite Dry Fast Top Coat which is by far, the fastest drying top coat I've ever seen. It's not that amazing in terms of shine, but it really perfects the nails and makes them look ready, all within a few minutes!
Then, voila! You've given yourself a nice at-home manicure for much less then $$$ then going to a nail salon :) Here are some pictures from my Instagram (etherealellie) of my NOTD!
 |
| Nars "Bad Influence" |
 |
| Ciate "Main Stage" |
 |
| Butter London "La Moss" |
 |
| Essie "Bahama Mama" |
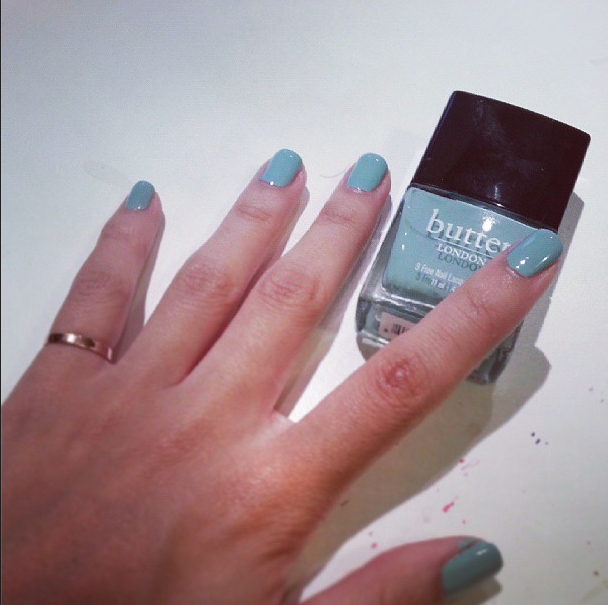 |
| Butter London "Poole" |
 |
| Essie "Schoolboy Blazer" |


0 comments:
Post a Comment